

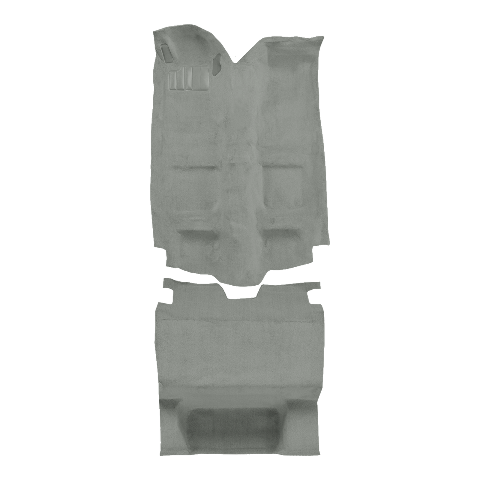
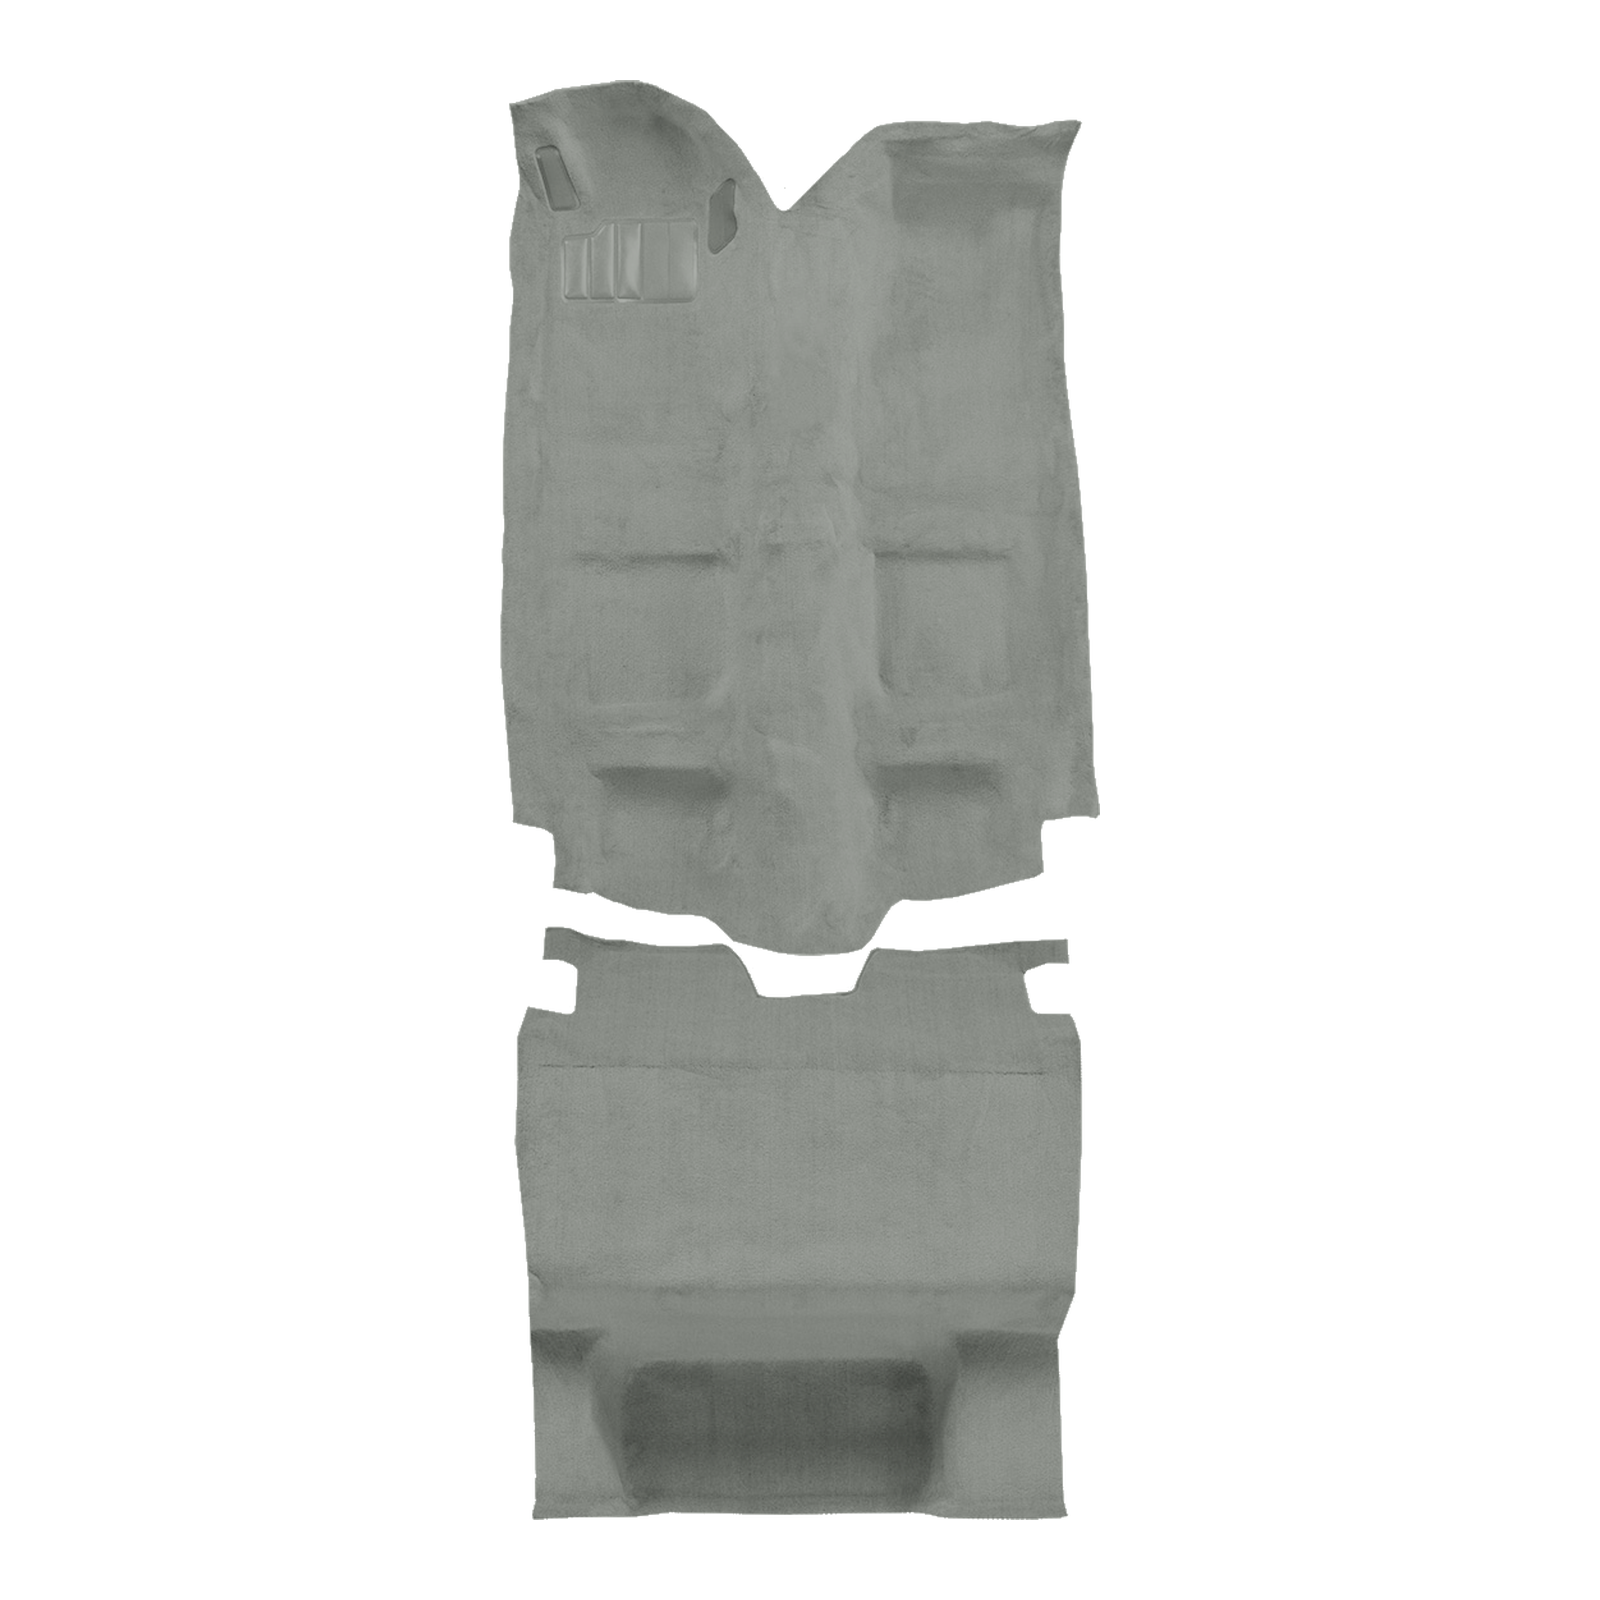
Swapping out worn, faded carpet is one of the cheapest ways to make a classic car or truck feel new again. A good molded carpet kit drops right into the floor pan, and most people can do the whole job in an afternoon with basic hand tools. Here's how to install molded car carpet the right way so it fits tight and lasts.
What You Need
- A molded replacement carpet set made for your exact year, body style and transmission (4-speed and automatic floors are different)
- Sound deadener or carpet underlay (strongly recommended)
- Utility knife with fresh blades, scissors, and a marker
- Screwdrivers and sockets for seats, sill plates and seat belts
- Shop vac, wire brush and rust converter or primer
- Spray adhesive (optional, for tricky areas)
Step 1: Unbox the Carpet and Let It Relax
Molded carpet ships folded. Lay it out in the sun or in a warm garage for a few hours so the creases relax and the backing gets flexible. A hair dryer or heat gun on low helps with stubborn folds. Warm carpet is much easier to shape around the tunnel and kick panels.
Step 2: Strip the Interior
Remove the seats, console, sill plates, kick panels and seat belt bolts. Pull out the old carpet and padding. Bag your hardware and label it, because you'll thank yourself later.
Step 3: Fix the Floor Pans First
Old carpet traps moisture. Vacuum everything, then check for rust and pinholes. Wire brush any surface rust, treat it, and seal it. If you find holes, fix them now. New carpet over a rotten floor just hides the problem.
Step 4: Lay Down Sound Deadener
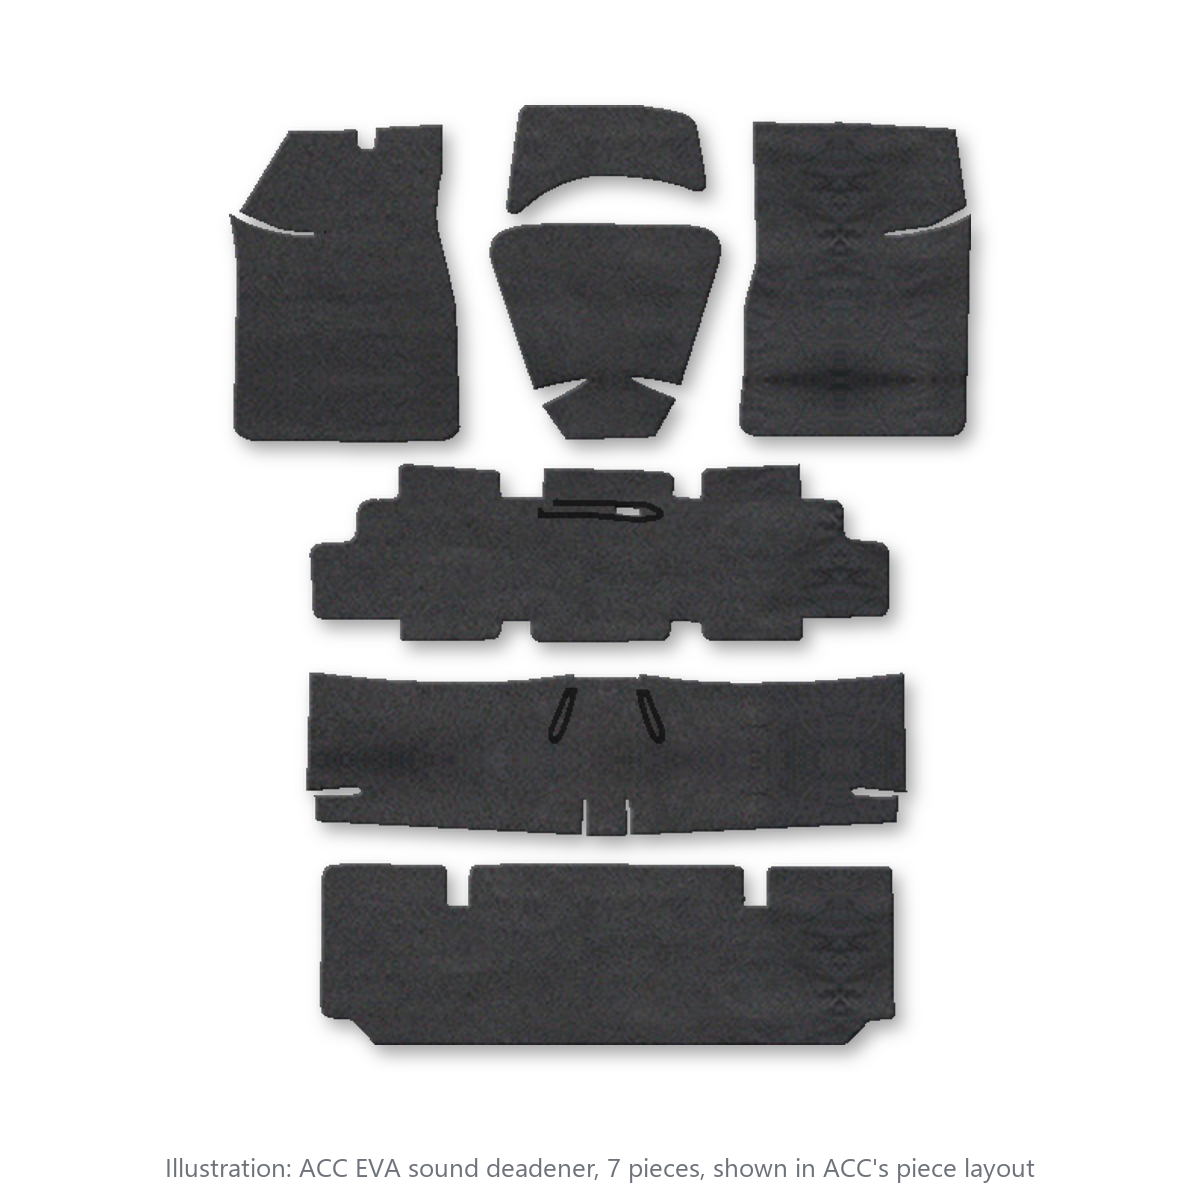
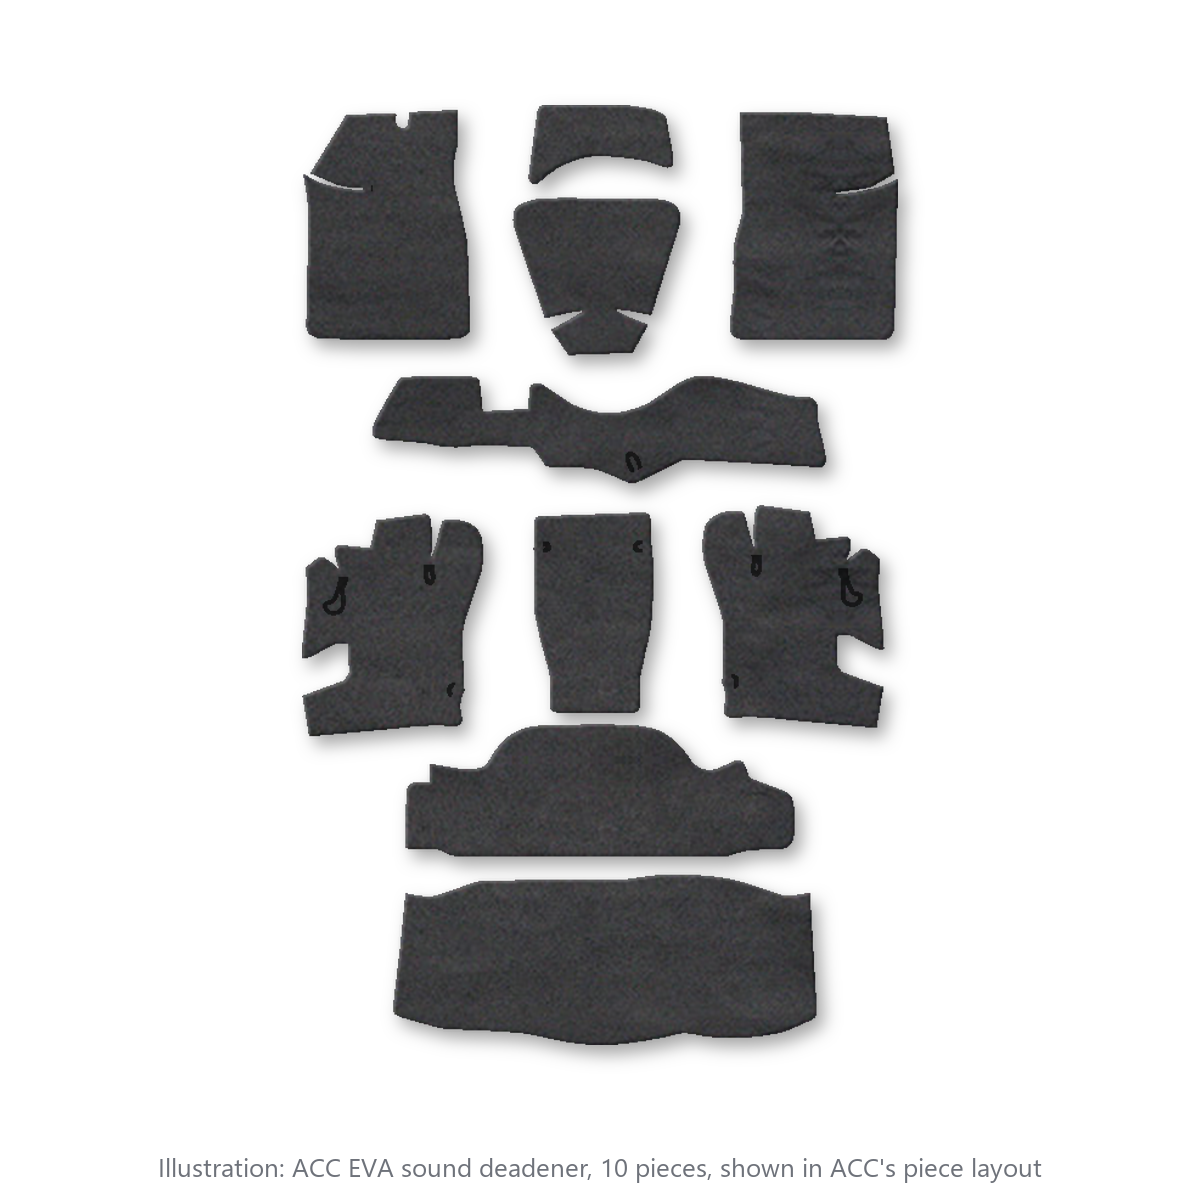
An underlay or EVA sound deadener cuts road noise and heat from the exhaust and transmission tunnel. It also gives the carpet a firmer, more factory feel underfoot. Many of our sound deadener kits are cut to fit specific cars, so there's no guesswork.
Step 5: Position the Carpet from the Tunnel Out
Drop the carpet in and center it on the transmission tunnel first. Once the hump lines up, work outward toward the rocker panels and up the firewall. Don't cut anything yet. Make sure the carpet sits flat and the molded shape matches the floor.
Step 6: Trim and Cut Holes
From underneath or by feel, mark seat bolt holes, seat belt anchors and the shifter opening. Make small X cuts instead of big holes, then push the bolt through. Trim excess at the sill plates and kick panels a little at a time. You can always cut more, but you can't put it back.
Step 7: Reinstall Everything
Put the sill plates back on first to lock the edges down, then the kick panels, console, seat belts and seats. Torque the seat belt bolts to spec. Give it a few warm days and the carpet will settle in the rest of the way.
Pick the Right Carpet Kit
Fit comes down to buying the correct kit. Check your year, 2-door or 4-door, console or no console, and 4-speed or automatic. Shop our full line of replacement carpet sets or start with these popular kits:
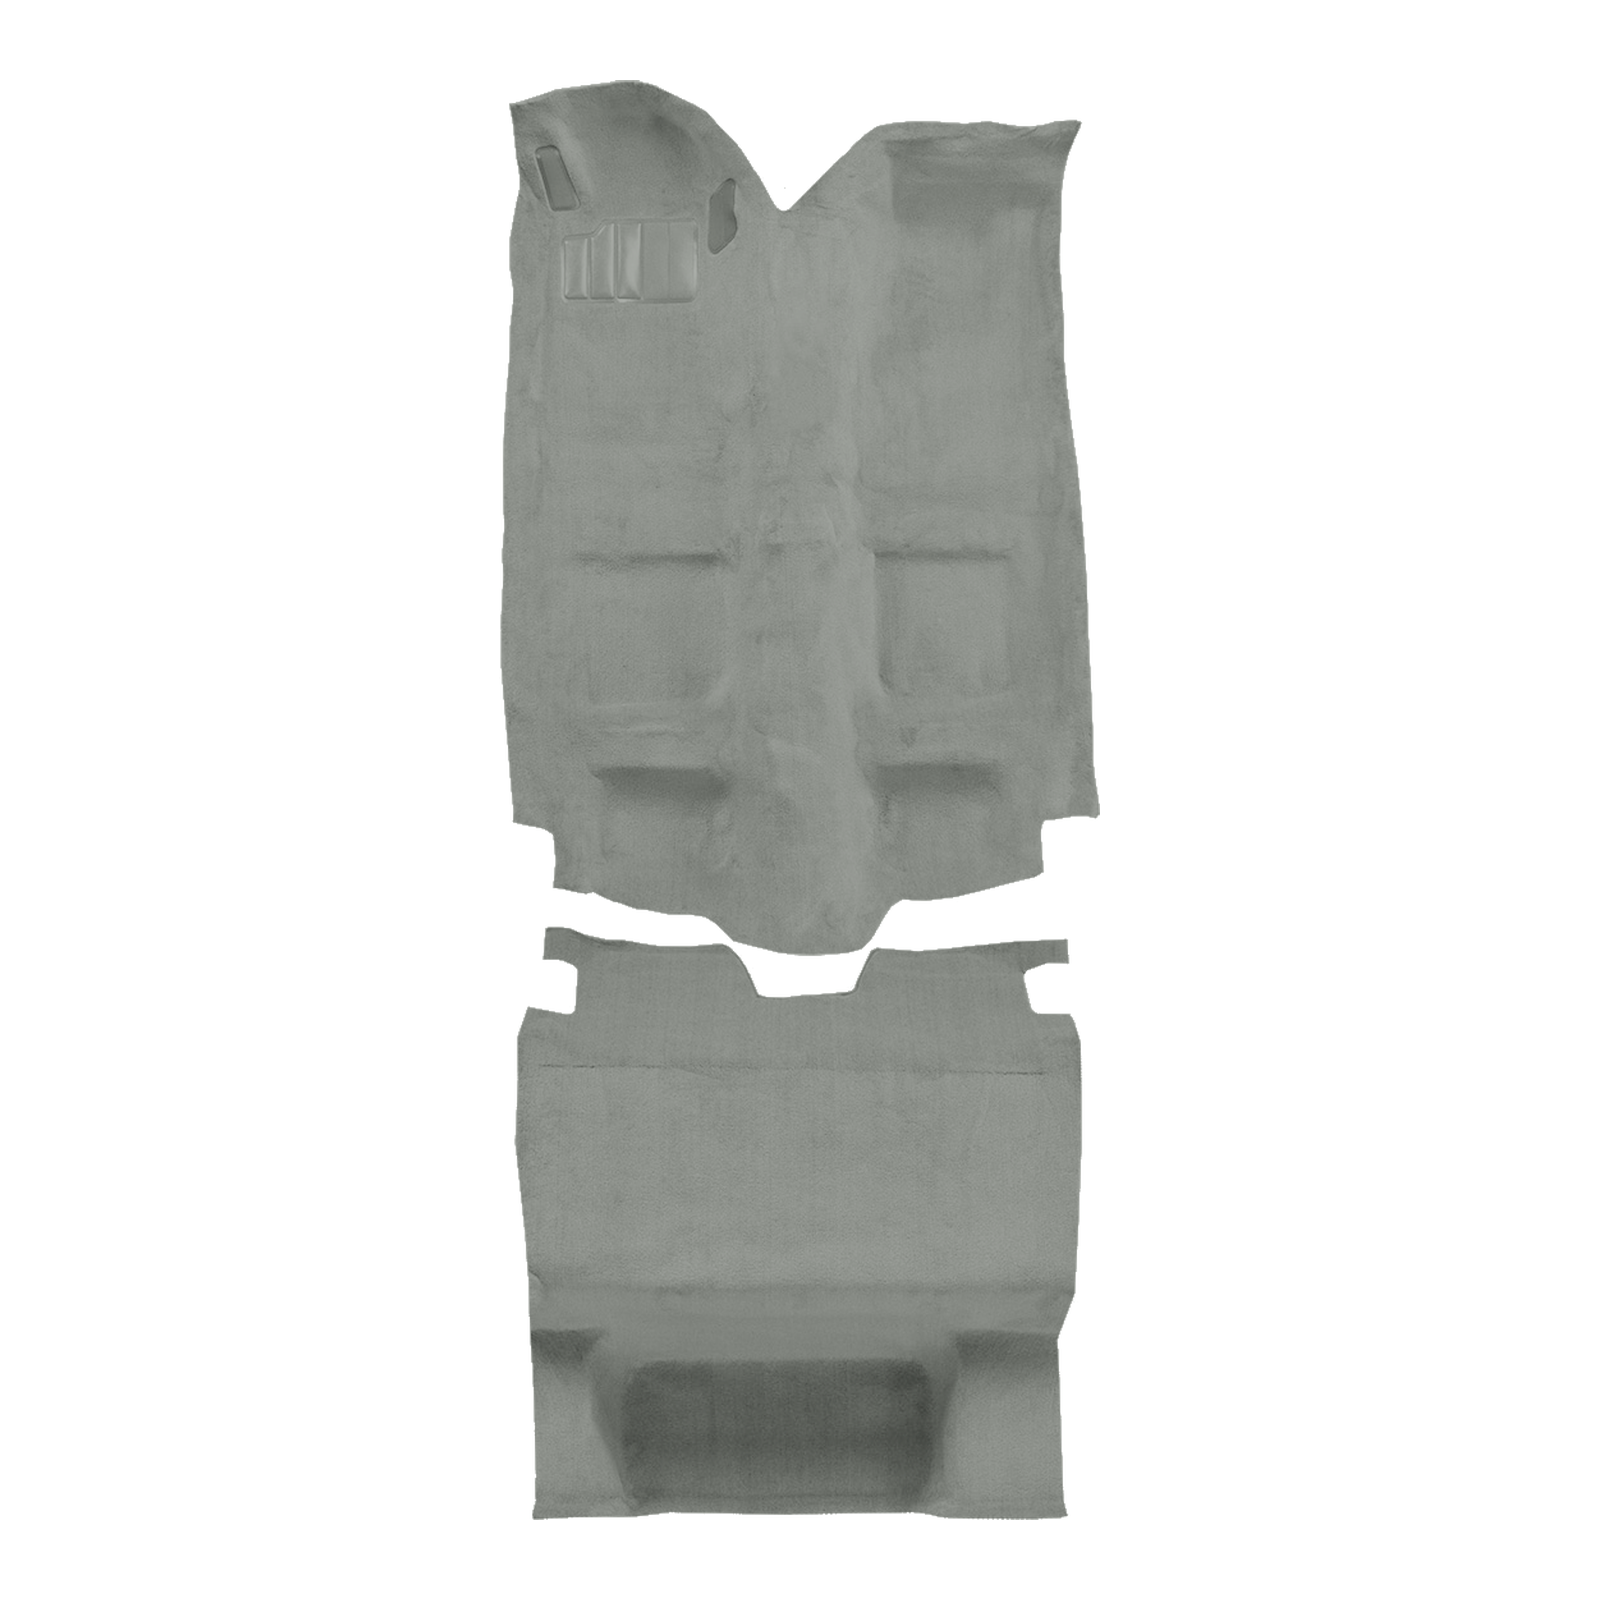
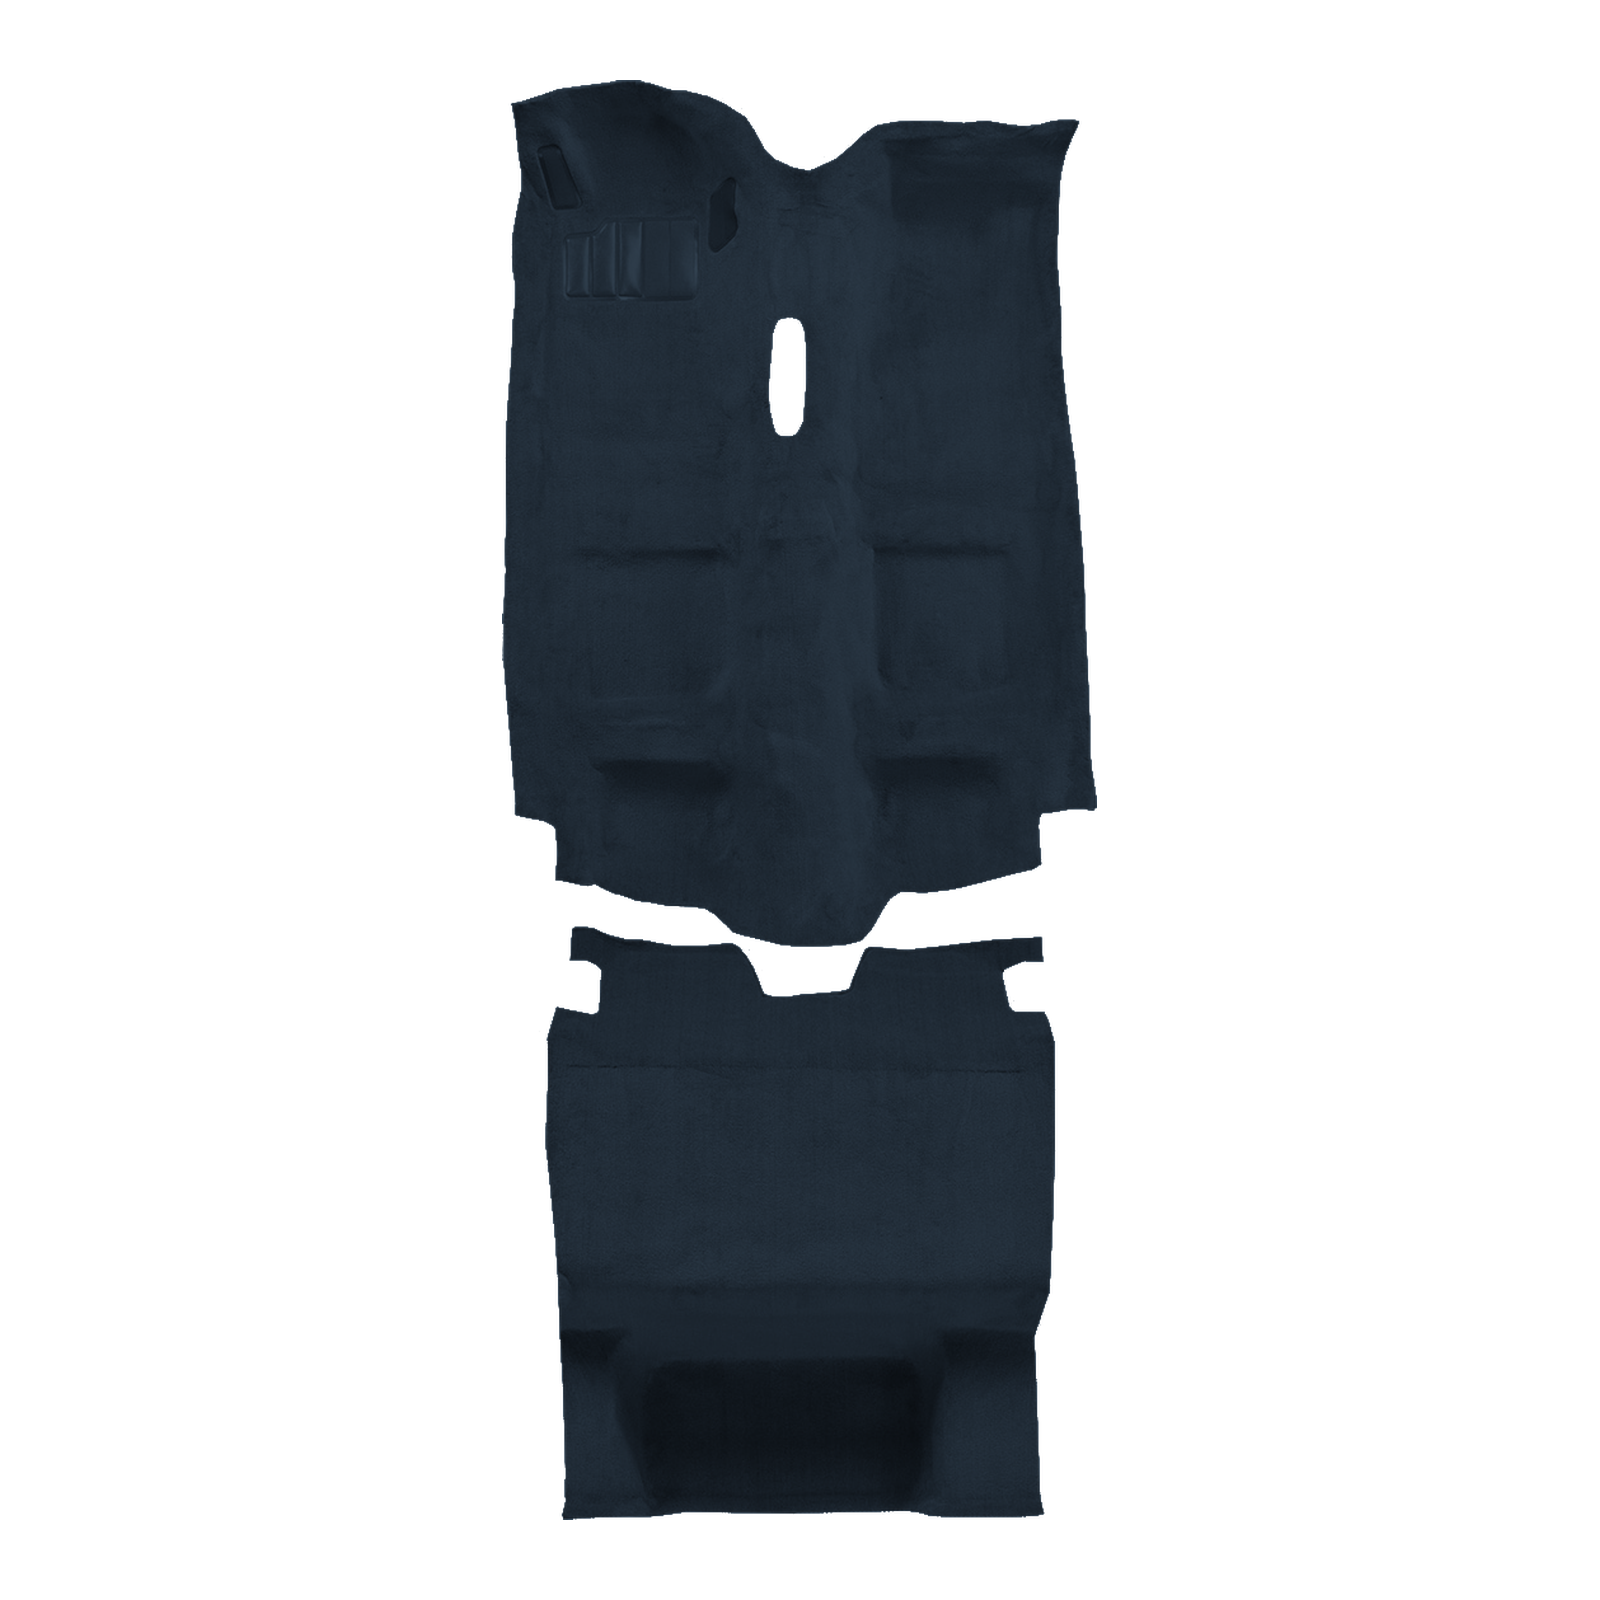
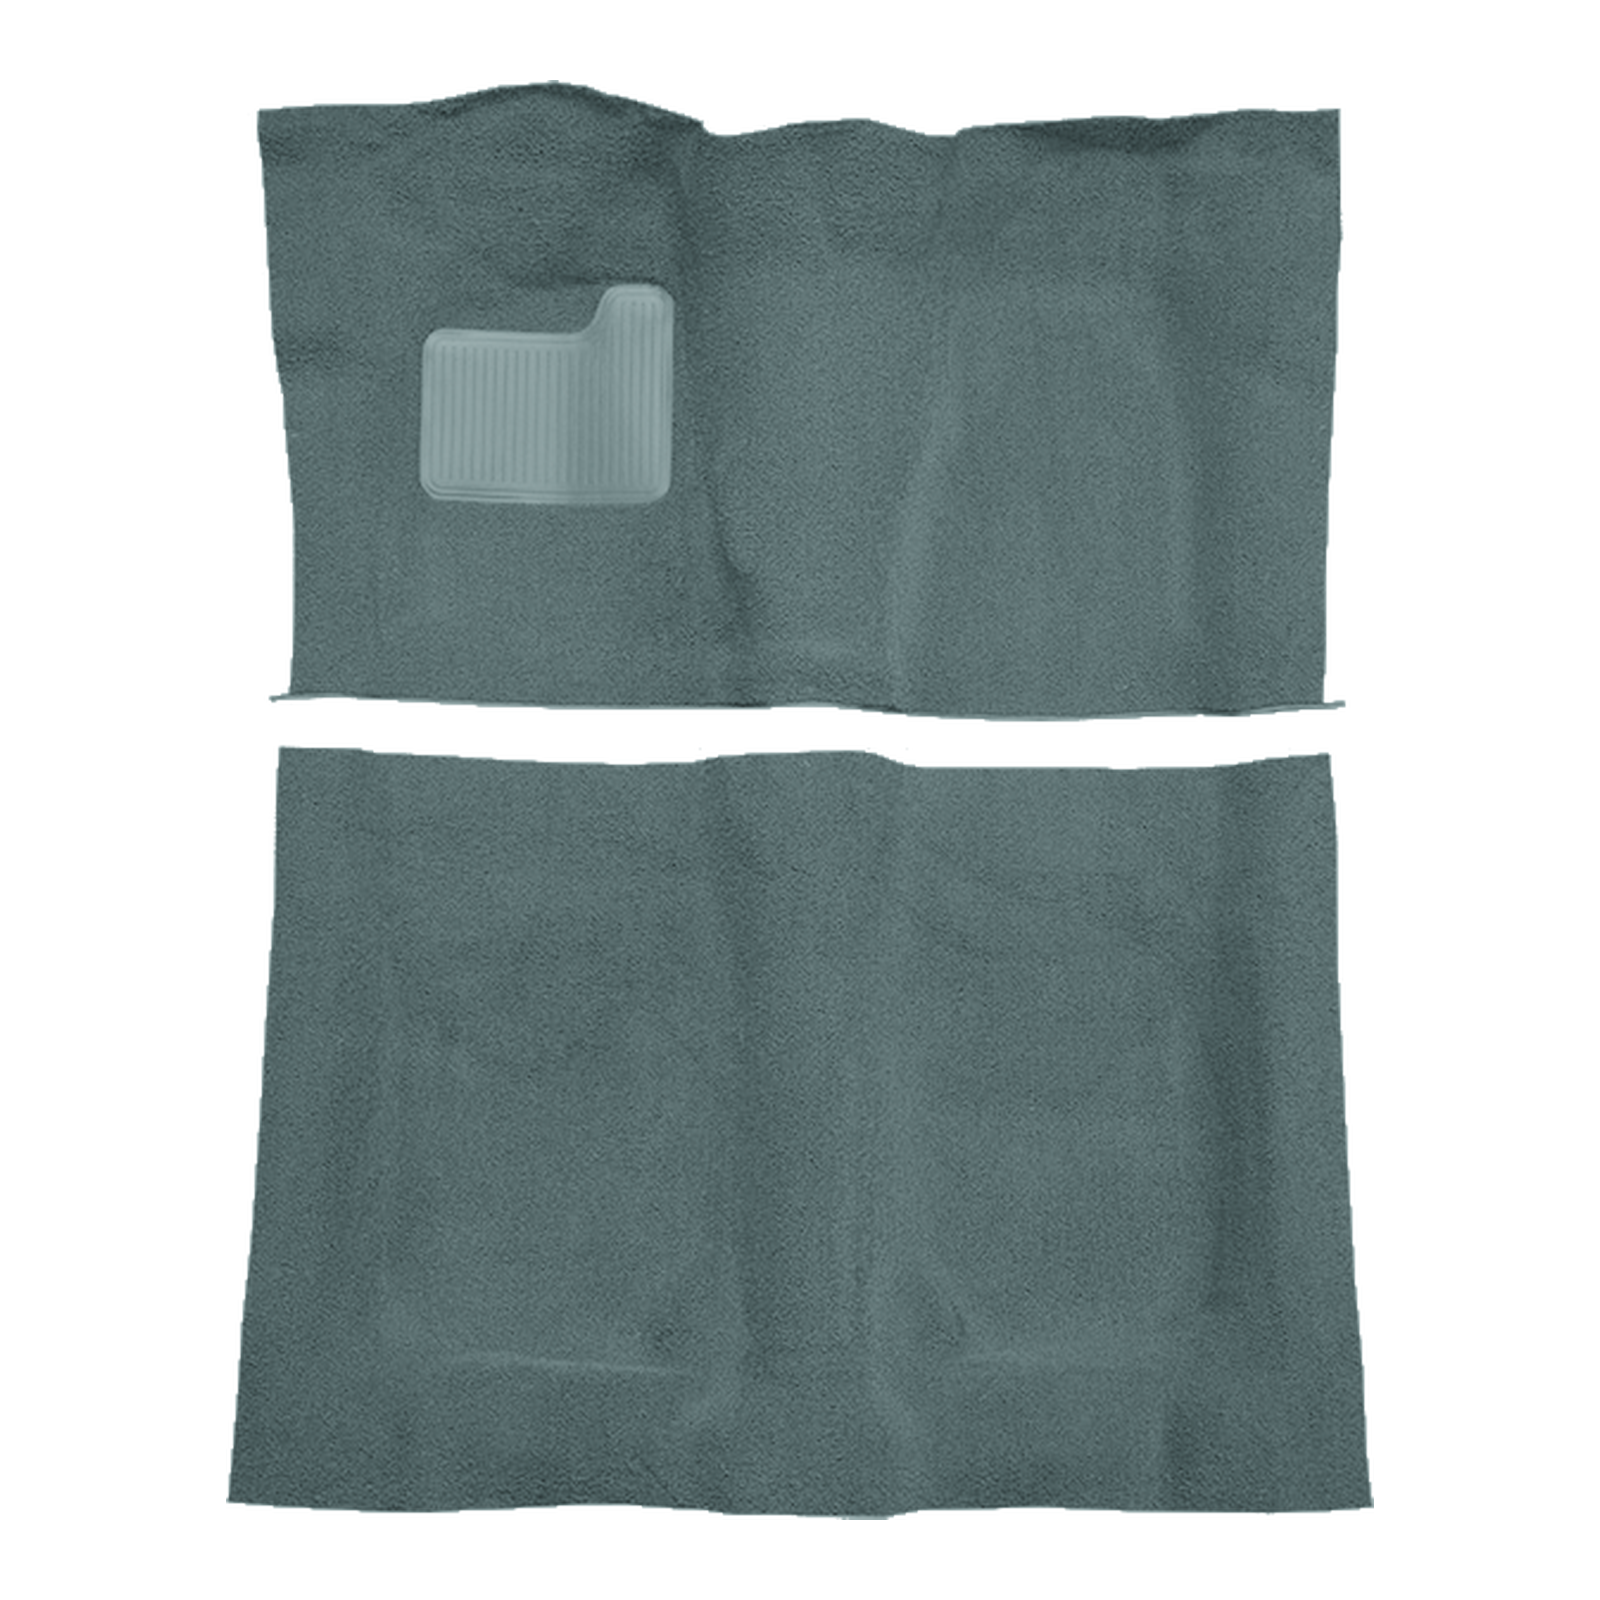
Questions on fitment? Call us toll free at 888-212-5640 and we'll help you find the right carpet for your car.


